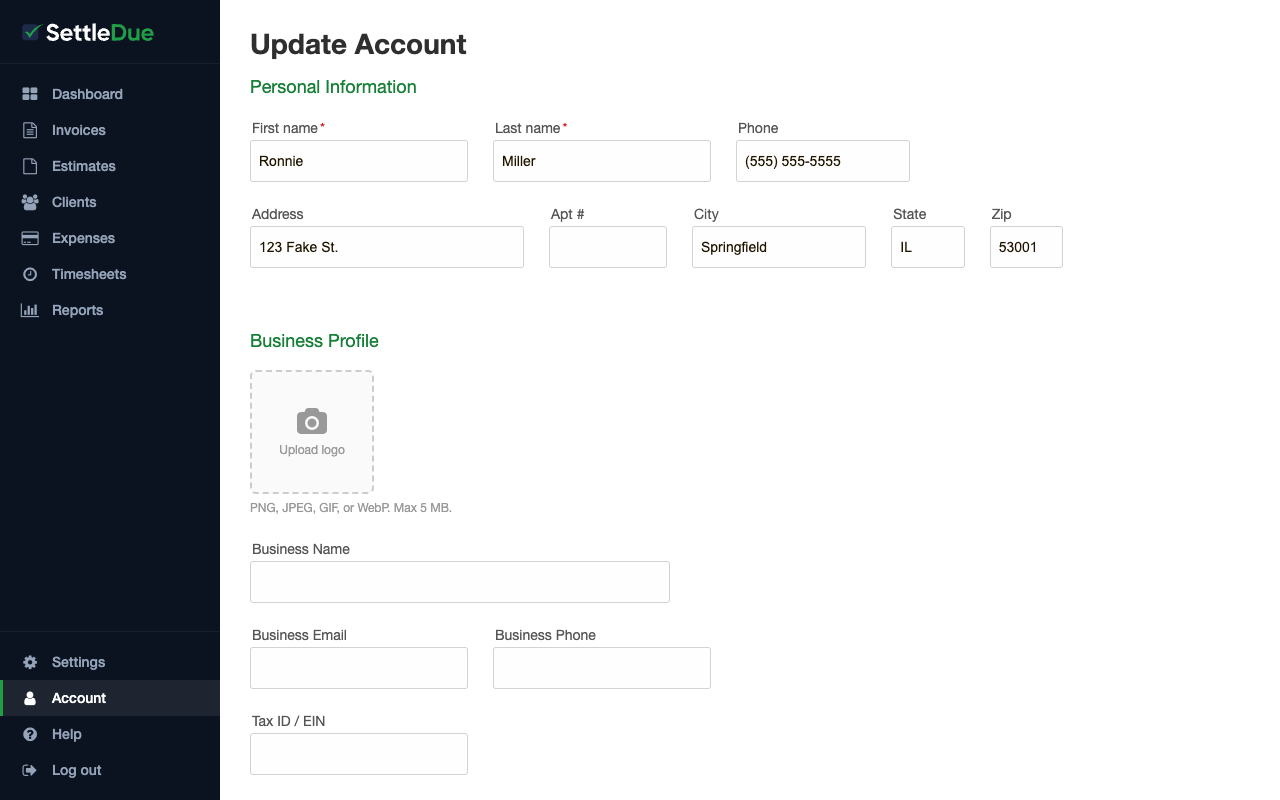
Your business profile controls what clients see on your invoices and estimates. Add your logo, business name, and contact details so every document looks professional.
Open your business profile
Click Account in the navigation menu.
Scroll down to the Business Profile section.
The Business Profile section on the Account page.
Upload your logo
Click the Upload logo area in the Business Profile section.
Select an image file from your computer.
The logo must be a PNG, JPEG, GIF, or WebP file. The maximum file size is 5 MB.
Your logo appears on every invoice and estimate you send. Use a square or landscape image for the best result.
Add your business details
Complete these fields in the Business Profile section:
Enter your company name in the Business Name field.
Enter your company email address in the Business Email field.
Enter your company phone number in the Business Phone field.
Enter your tax identification number in the Tax ID / EIN field.
Show or hide business details
The Show business details on invoices and estimates checkbox controls whether your business name, email, phone, and Tax ID appear on documents you send to clients.
This option is enabled by default. Clear the checkbox if you do not want these details on your invoices and estimates.