SettleDue gives you two ways to create an invoice. You can build one from scratch or generate one from tracked time and expenses.
Create an invoice from scratch
- Click Invoices in the navigation bar.
- Click the New Invoice button.
- Select a Client from the dropdown. This field is required.
- Set the Issue Date. SettleDue fills in today's date by default.
- Review the Invoice Number. The system assigns the next number automatically.
- Add a PO Number and Due Date if necessary.
- Add task line items in the TASK section. Select a task type, then enter notes, rate, and hours. The total calculates automatically.
- Add expense line items in the EXPENSE section if you need to bill for costs. Enter the expense category, notes, price, and quantity.
- Use the + and − buttons to add or remove line items.
- Add any Notes that you want to show on the invoice PDF.
- Click Create Invoice to save.
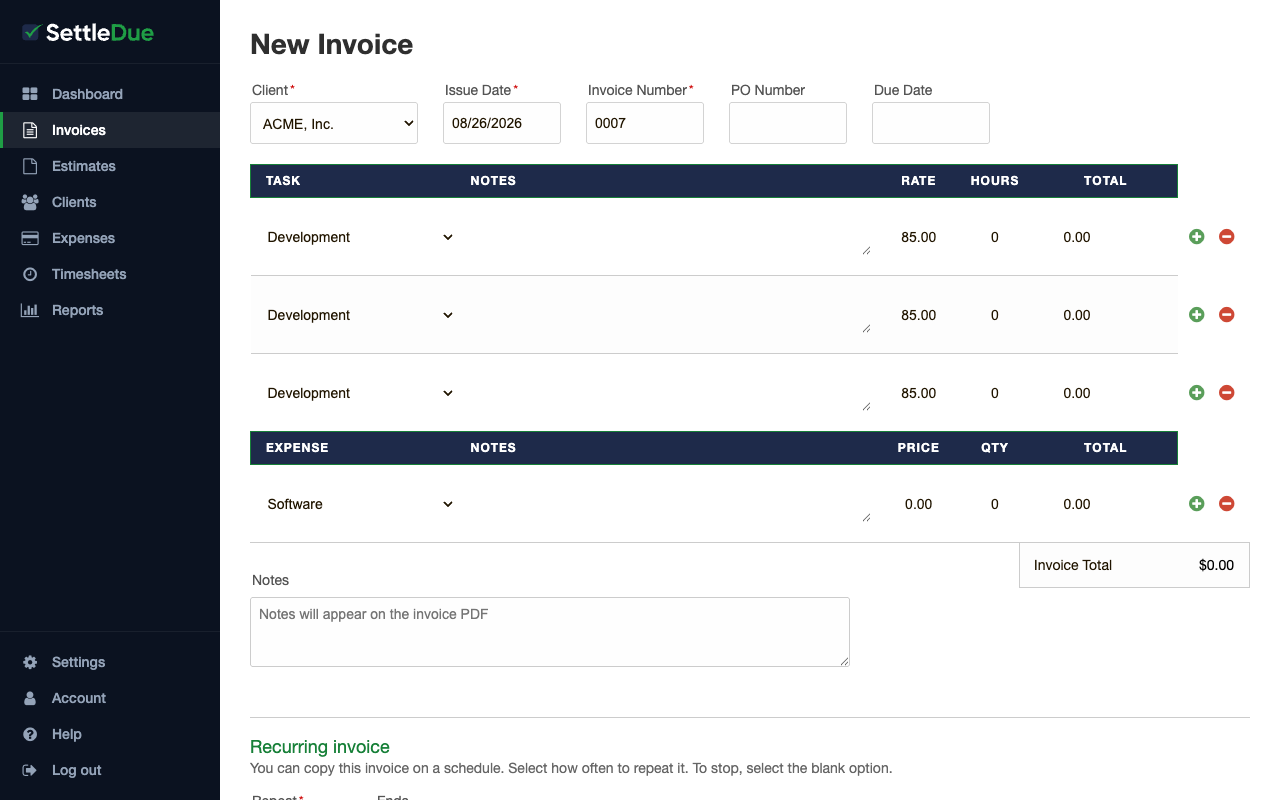 The New Invoice form with task and expense line items.
The default hourly rate comes from your account settings. You can change the rate on each line item.
Generate an invoice from tracked time and expenses
If you already have time entries or expenses for a client, you can generate an invoice from that data.
- Click Invoices in the navigation bar.
- Click the Generate Invoice button.
- Select a Client from the dropdown.
- Optionally, set a Start Date and End Date to bill for a specific period only.
- Click Generate Invoice.
SettleDue creates a new invoice with line items from the tracked time and expenses for that client.
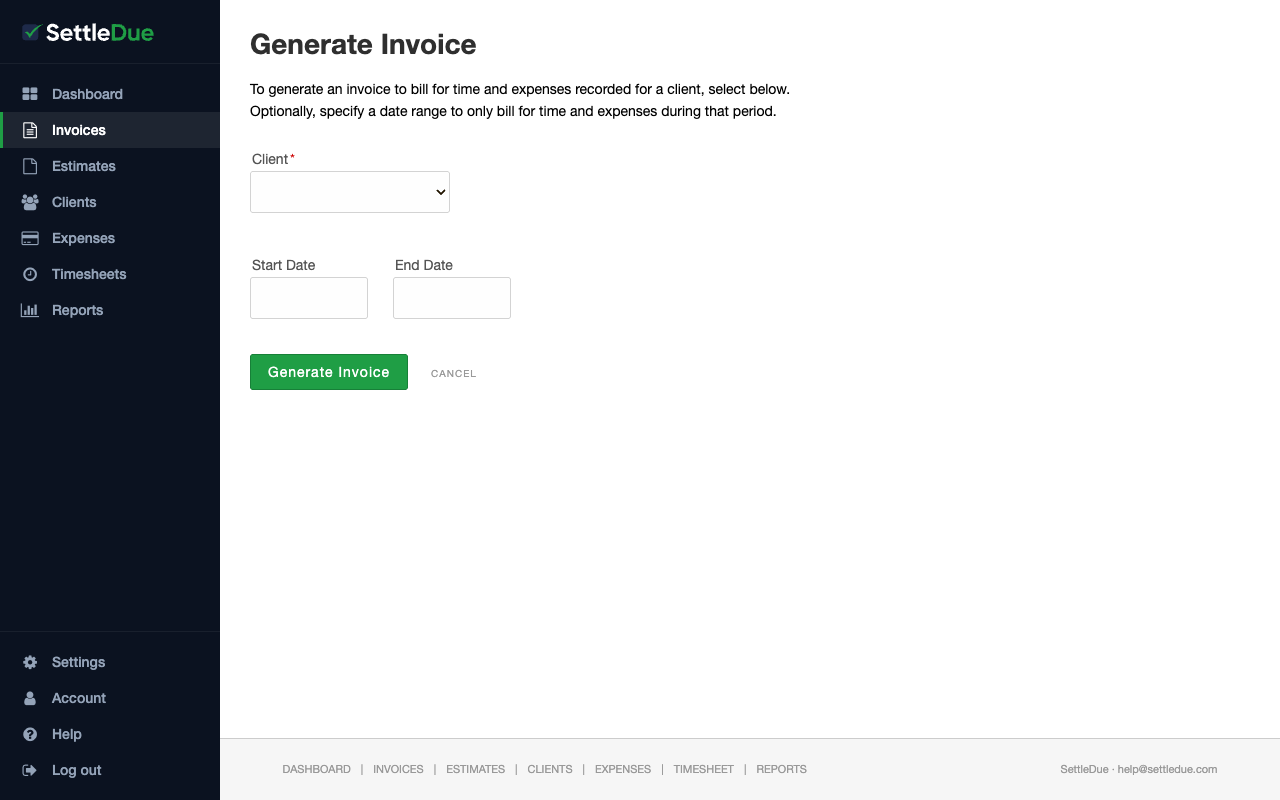 Generate an invoice from tracked time and expenses for a client.
Edit an existing invoice
You can change any invoice that has not been sent.
- Click Invoices in the navigation bar.
- Click the invoice number to open it.
- Change the fields you need to update: client, dates, line items, or notes.
- Review the Invoice Total and Amount Due in the summary.
- Click Update Invoice to save your changes.
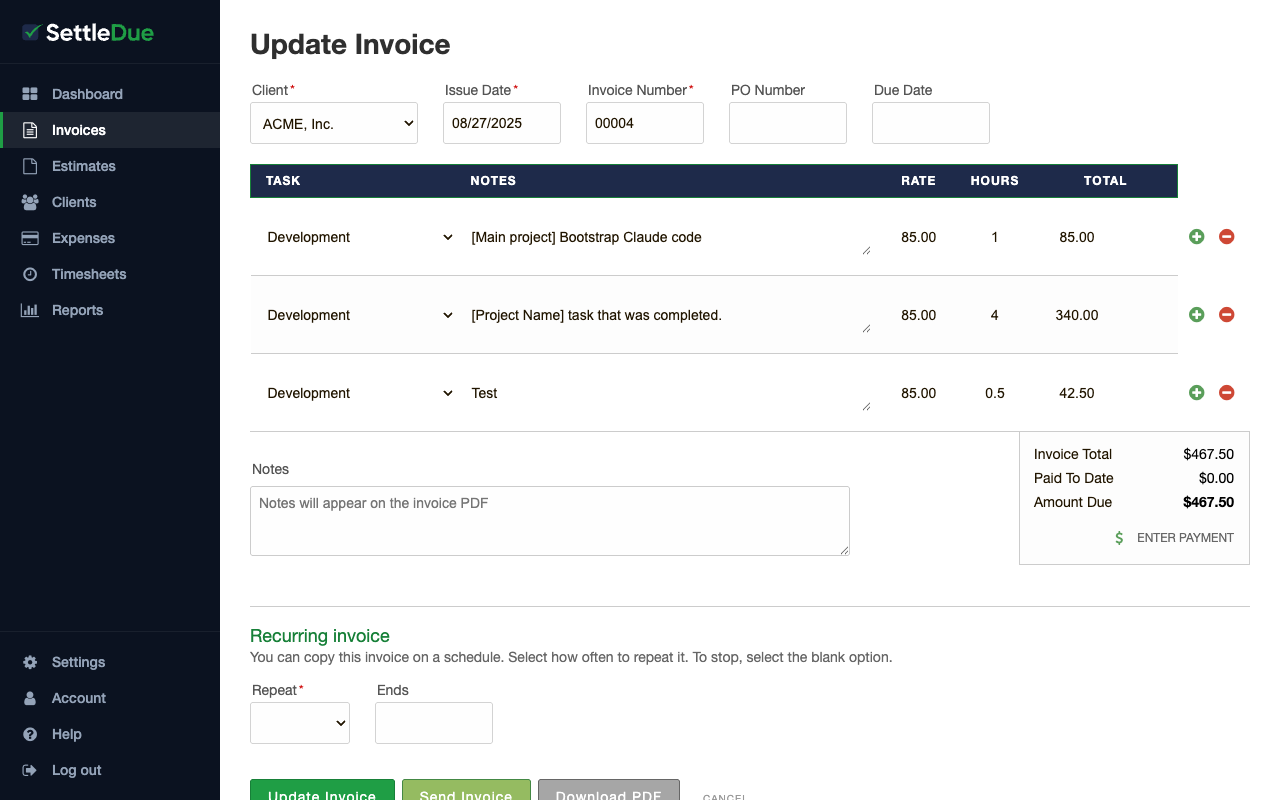 The invoice edit form with the total summary on the right.
Next steps

